|
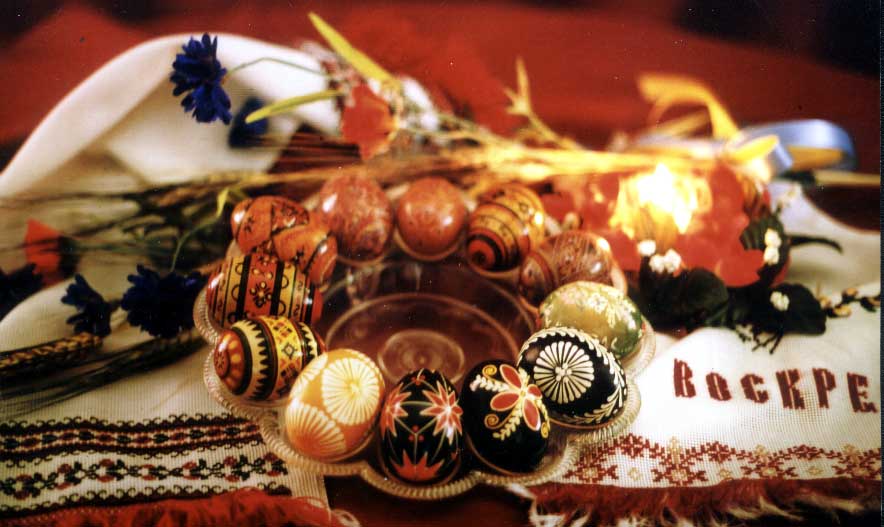
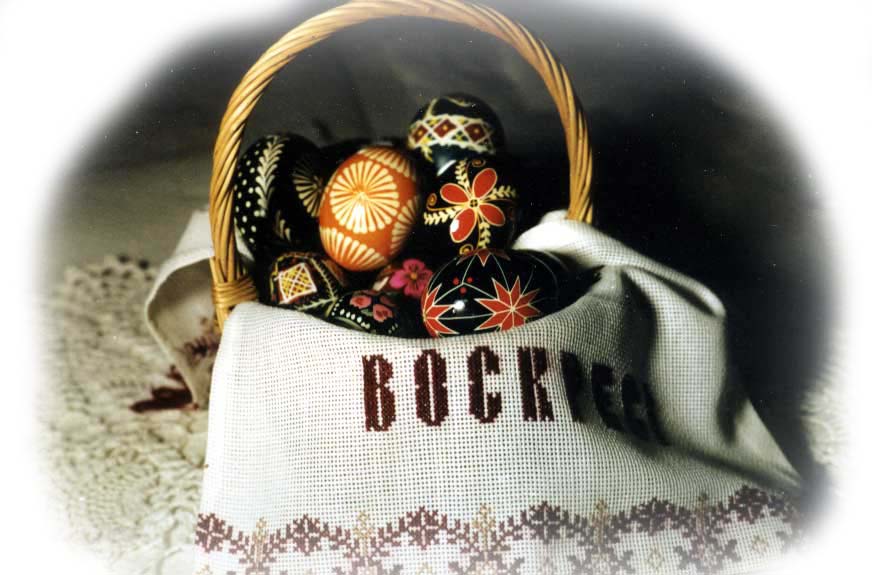
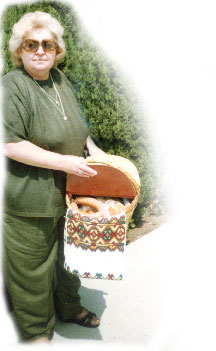
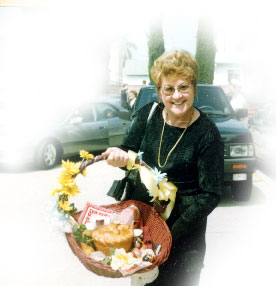
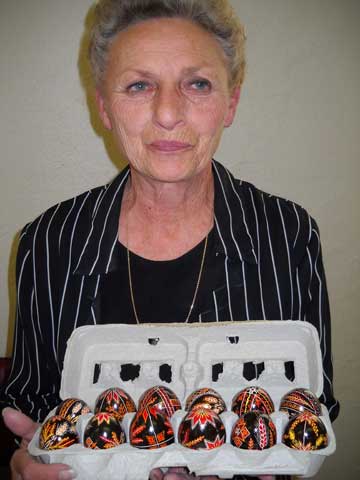
The Ukrainians bring their pysanky and other traditional food delicacies
in baskets to church for blessing and thanksgiving prayers.
 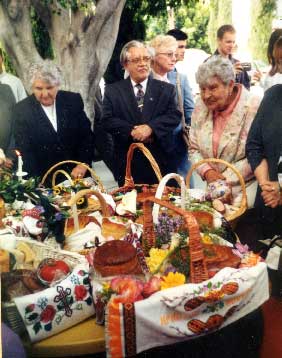 |
| Then they are exchanged with family and friends during festive banquets with the customary greeting "Christ is Risen." |
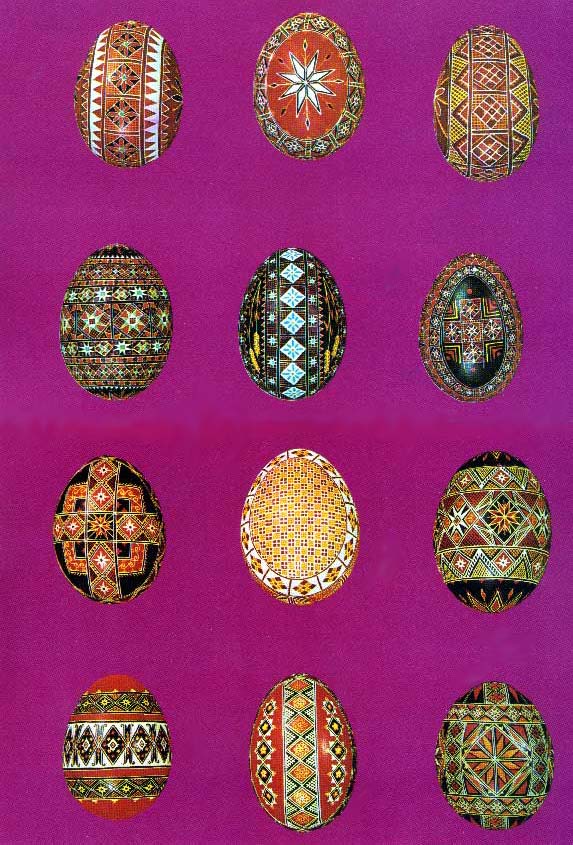
| Originally pysanky were associated with mythical and religious beliefs
of pagan times but with the coming of Christianity, they took on new meaning
of rebirth and life. Custom dictates that each year a fresh batch of Pysanky
be made: symbolic patterns now give way to intricate embroidery-style patterns
and flowers. |
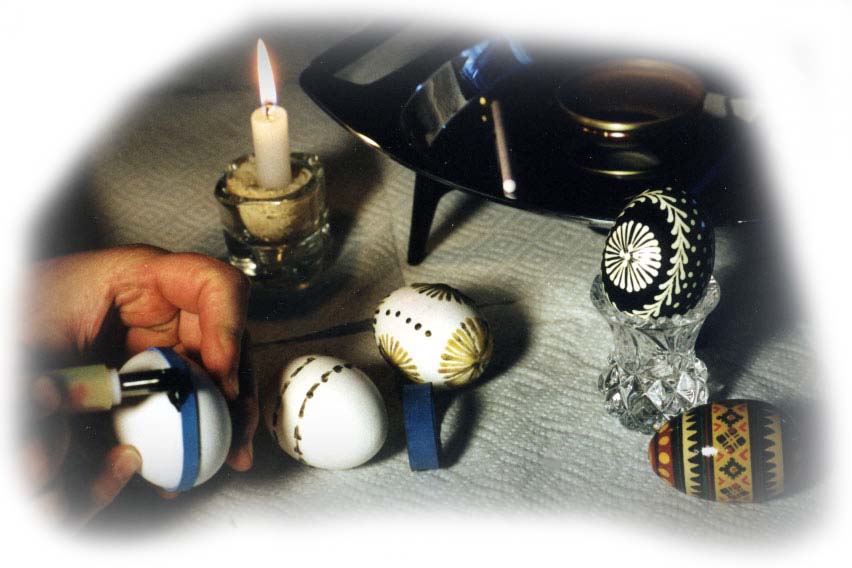
| Here's how this ancient craft is done: |
 |
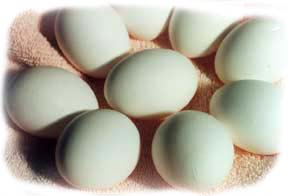
Bring raw eggs to room temperature. The wax will not adhere correctly
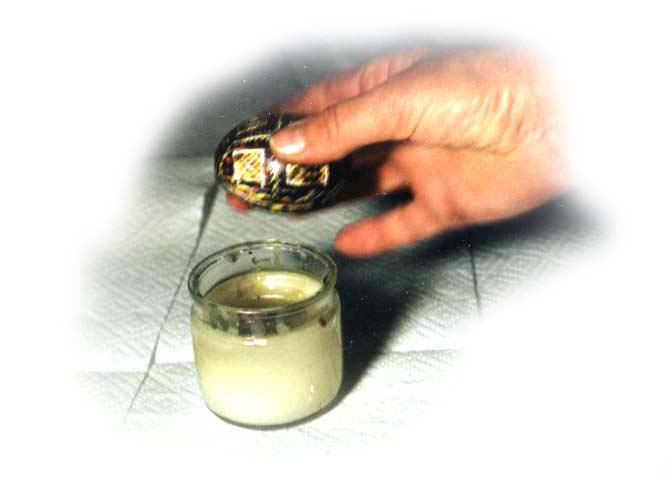
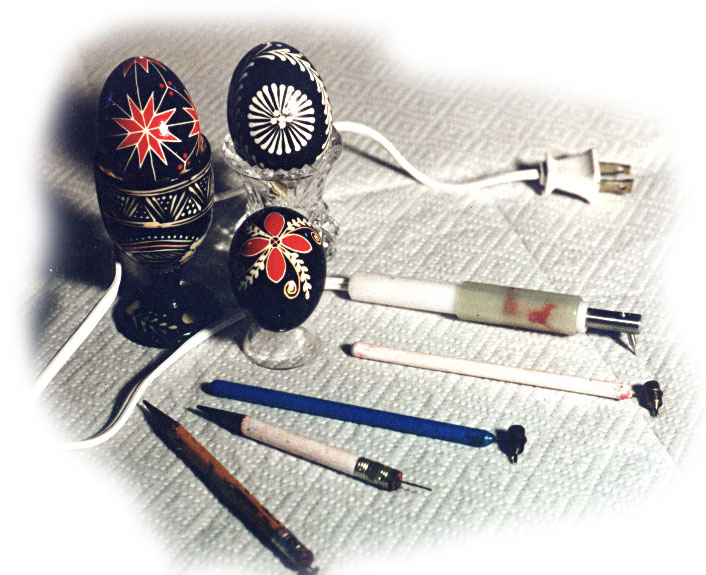
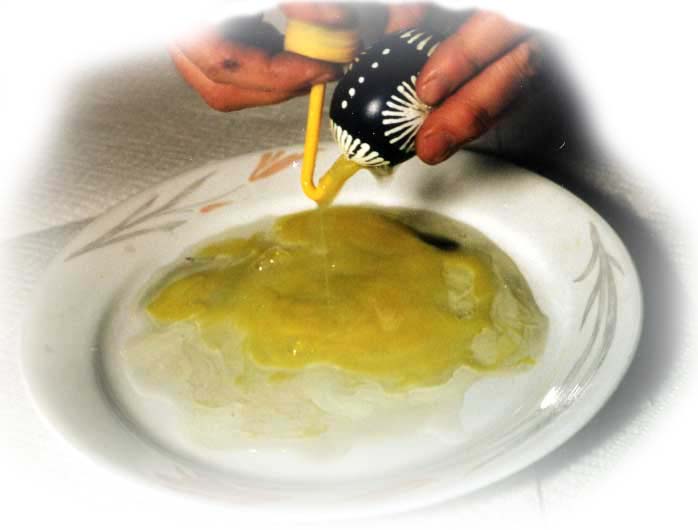
to a cold egg. Some commercially-cleaned eggs leave stripes when you dye them. You might try a vinegar bath before you warm them. I use the good home ranch eggs because they are not commercially machine spin-washed and the dye adheres a lot better, without streaks. Ranch eggs from a local farm are more expensive than the store bought and I don't want to waste the the nutritious yolk. Therefore, I use a Blasfix (see photo below) to extract the good egg and save it for breakfast. I use the Blasfix to inject water inside, shake and clean out the residue. Raw versus hollow - The hollow eggs jump out of your hands more readily than the full raw eggs, and you might try rubber thumbs like the old time bookkeepers used for counting money. Then again, the raw egg sometimes seeps through the shell while in your display cabinet and destroys your egg design, instead of drying out inside. Wax bead and clothes pin - I put a bead of wax over the hole to seal it so that it doesn't get a lot of dye inside. The hollow egg is now more difficult to submerge, so I hold down the eggshell with the dipper and clip the dipper to the side of the jar with a wooden clothes pin. |
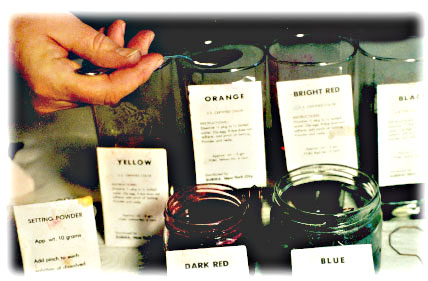
You can store your dye for about a year in Mason jars. The wide mouth with plastic lids are much better than the metal lid & ring which rust. If mold grows you can skim it through a coffee filter and add another teaspoon of vinegar to retard mold growth. |
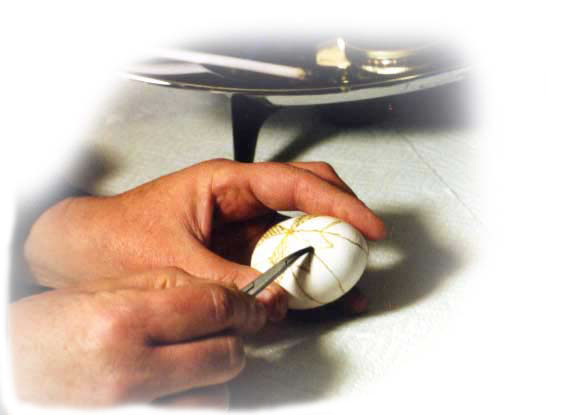
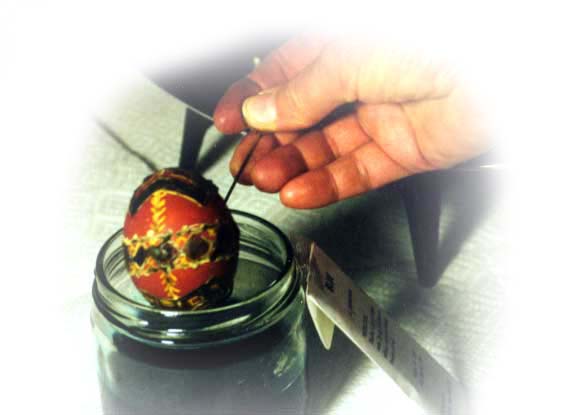
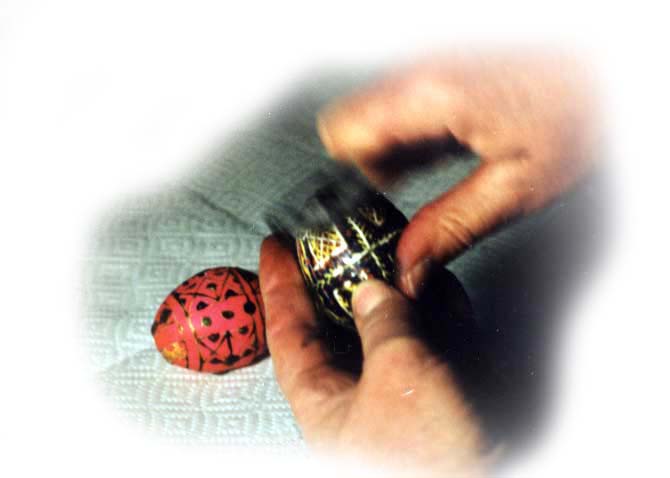
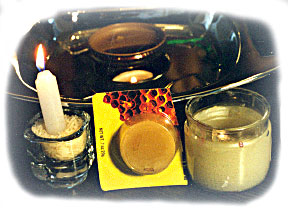
The starburst shown on the black egg below is done with "drop-pull" method that is unique to the Lemko people. Steel straight pins – I use an assortment of sizes of stainless steel pins to make creative swirls and starbursts with the drop-pull method. The plastic fake-stainless steel pins melt off when you heat them in the flame. The real steel heads from Germany are harder to find and more expensive. |
Guitar Wire .25mm #PL010 is great for unclogging your stylus. Terry cloth – I use a terry cloth under my egg waxing station so my hollow egg doesn't run away from me. I also use it to catch the wax running down the funnel to prevent blobs. |
|
 Dividing the egg evenly in quadrants is the key to a good-looking design. Tape measure – Use a flexible seamstress tape measure cut to 4-5 inches, to make even-spaced pencil dots on your egg when dividing. Spit is good for correcting pencil lines. Never use an eraser. It spoils the finish and the dye doesn't adhere. Or use a rubber band around the egg to help you make
straight lines or partition the egg into a pattern. |
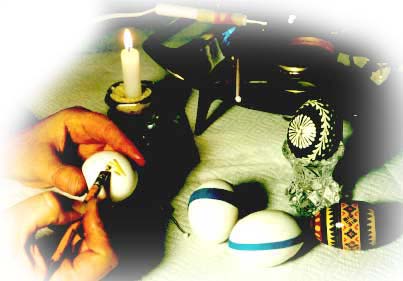
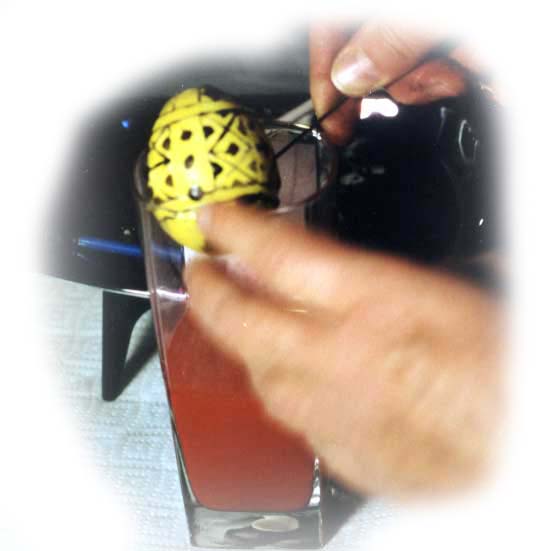
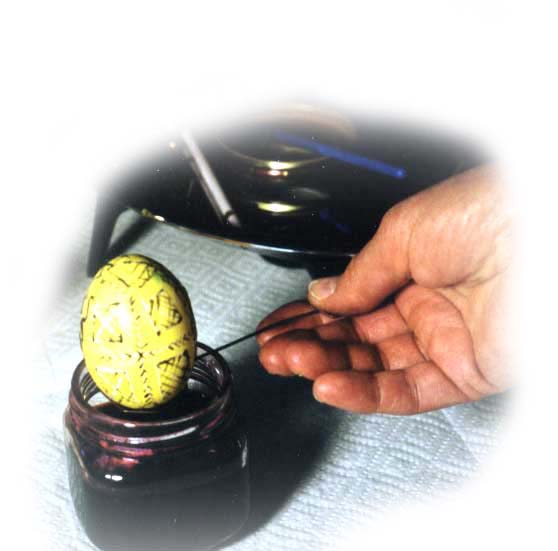
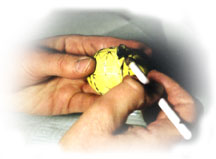
 Heat the stylus or pin head in the flame before dipping in the molten wax. Where you want the white to remain, apply a pattern on the white egg, dipping the pin in flame and wax prior to each stroke. With the electric stylus, there is no dipping, only adding fresh wax to the funnel. Light source – Position your light source so that it doesn't cast a shadow over your working pattern. A goose-neck lamp might be better than an overhead light. Stroke away from your body, so you see your waxed line. |
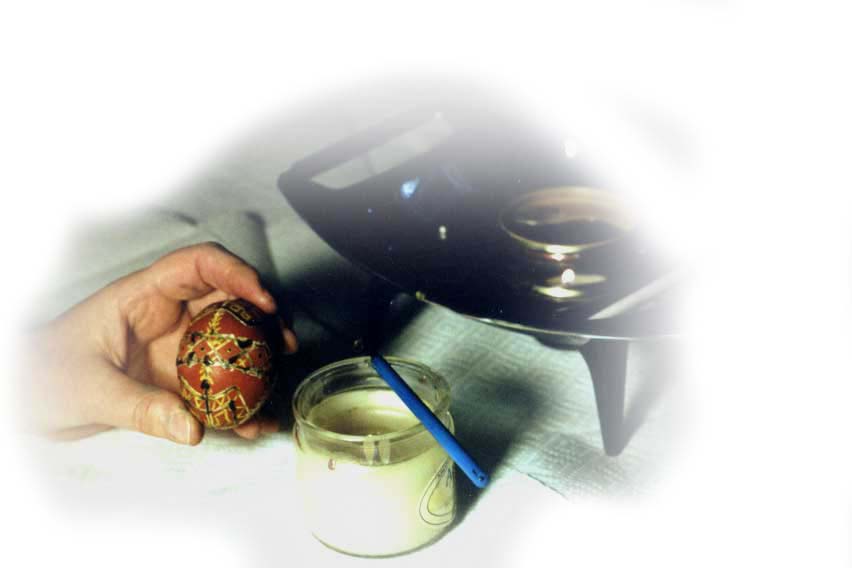
 Submerge egg completely in yellow dye for 15 minutes. Turn egg periodically so that the egg colors evenly.
|
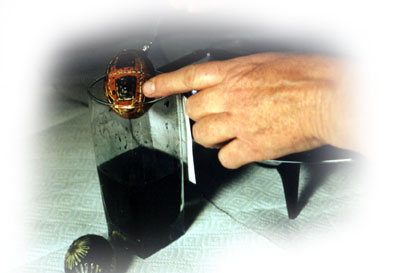
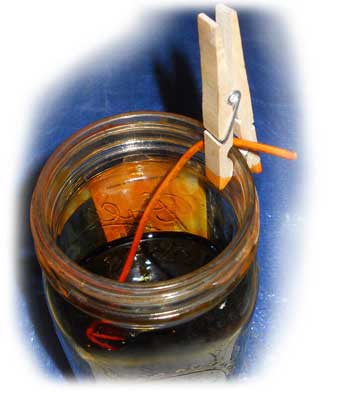 The hollow egg is now more difficult to submerge,
so I hold down the eggshell with the dipper and clip the dipper to the
side of the jar with a wooden clothes pin. The hollow egg is now more difficult to submerge,
so I hold down the eggshell with the dipper and clip the dipper to the
side of the jar with a wooden clothes pin. |
 Pat dry with paper towel and allow to air dry before making the next set of lines. |
A blob will happen on your prettiest design. Inevitable. Scatch off with X-actor blade, and then use lighter fluid on a cotton swab to erase those accidental blobs. |
 Submerge completely in the orange bath for 15 minutes. |
Pat & air dry. Continue adding molten wax to egg pattern covering
only where you want the orange to remain. Many symbols have
meanings: |
 |
Follow this technique with each subsequent color:
red, blue, purple and black dyes. Remember
that the molten wax protects the color you wish to keep. Note: Start with lighter colors and proceed to darker colors or wash off dark colors with mild soap and water before immersing into lighter colors. The wax on the egg will protect the color underneath. Brown eggs – The brown eggs can't take all the colors that the white egg can. A good combination with tan is: burgundy, purple, reds, maroons, brown and black. You may submerge it totally win yellow first, to get a gold base. Yellow and tan is a failure, but gold and burgundy, or gold and black, or the other colors is striking. |

 |
 |
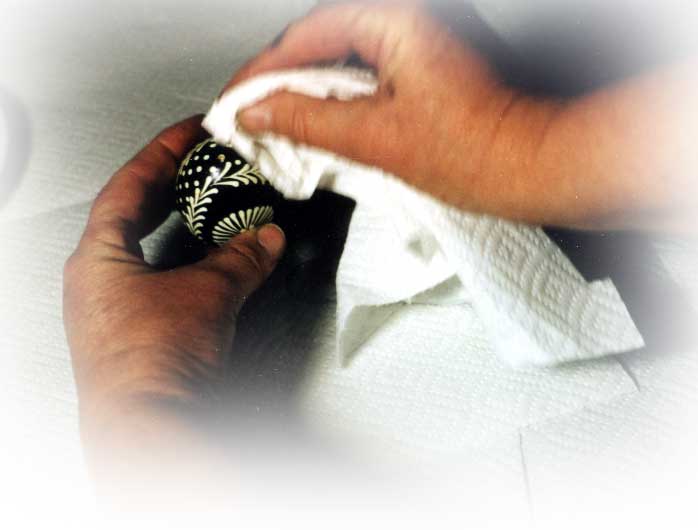
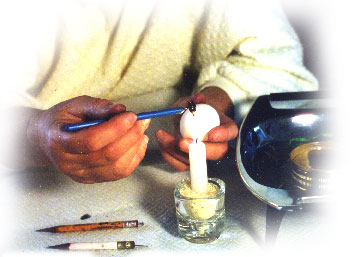
| Some people carefully scrape off all wax with a blunt knife but I find this leaves scratches on my dye. A faster way is to hold waxy egg over a tall candle until it glistens to melt it and wipe repeatedly. Hold to the side of a tall candle so that flame doesn't leave a soot mark on the colored die. |
 |
|
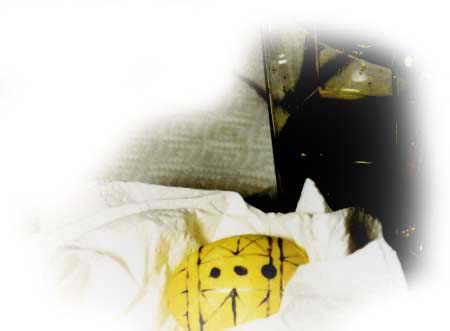
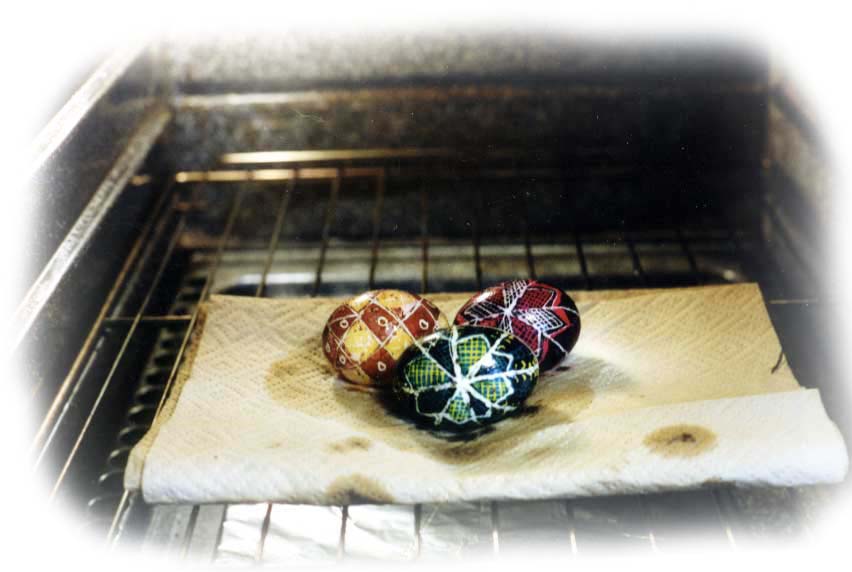
If you have a lot of eggs to melt, you can place it in a 250° oven and when
it begins to shine, remove it and wipe off the wax. If you forget or have the
oven too high, (on the right) you'll hard boil your egg and won't be able to
blow its contents out. The multiple-colored pattern will remain after the wax is wiped clean. |
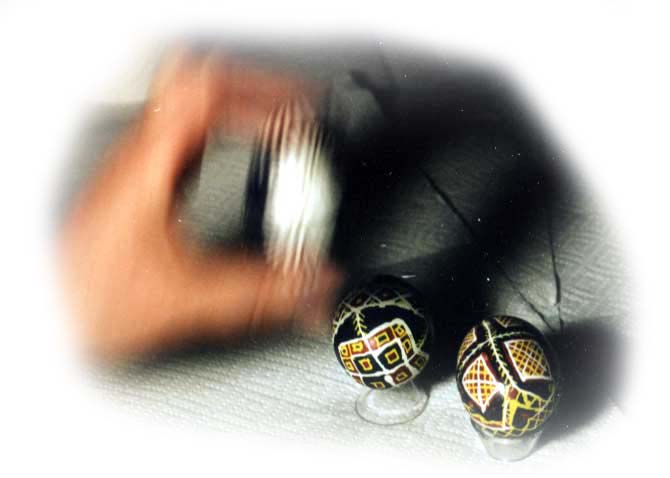 If you till have yolk in your shell, gently shake the egg so its inner contents loosen from the walls. Some people use a wire to "scramble" the egg inside the shell to make it easier to blow out the fluid. |

 |
I've seen some people use a syringe to extract, leaving only the tiniest of holes. |
 |
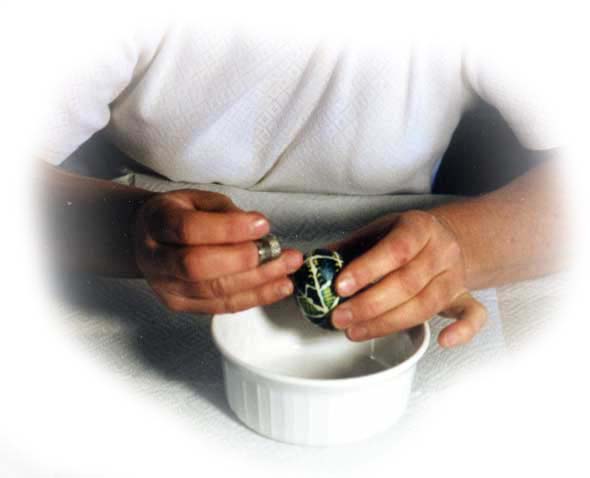
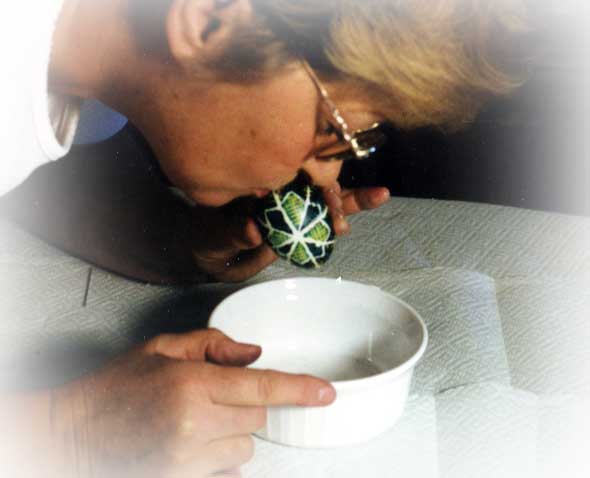
| If you are hand-blowing the yolk, puncture both ends of the egg -- one should be larger than another. Blow through the small hole allowing the raw egg to come out of the larger hole. Pat dry so that the raw egg doesn't spoil your colors around the holes. You may varnish the ends before you extract to protect your dye pattern. |
You can varnish them after they are done to strengthen the walls and protect the dyes. You can spray varnish or use a can of varnish. First, make a drying rack, a bed of nails pressed into cardboard, to rest your varnished egg. |
|
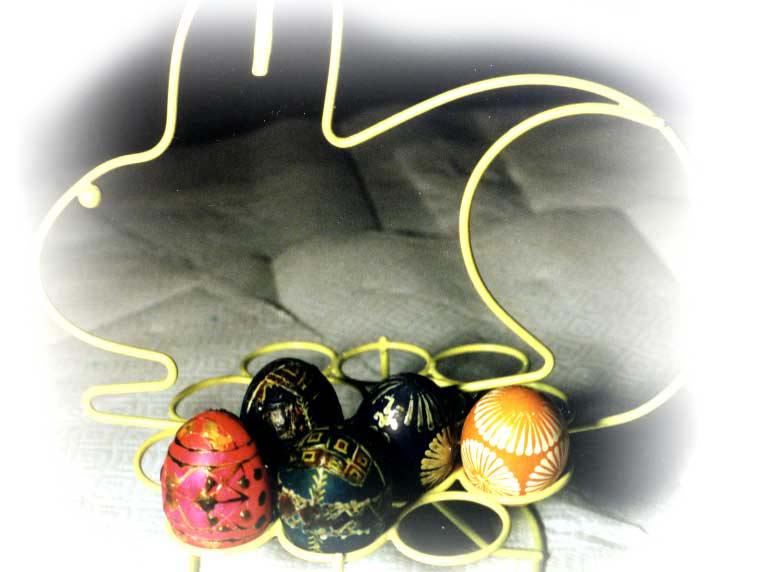
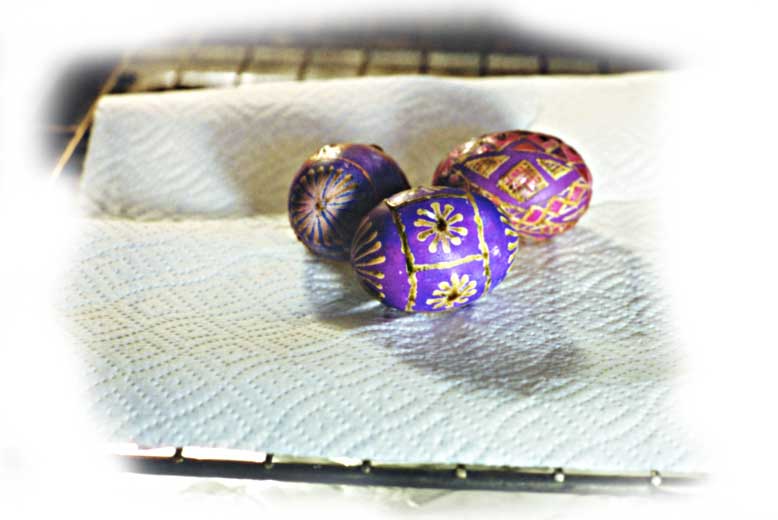
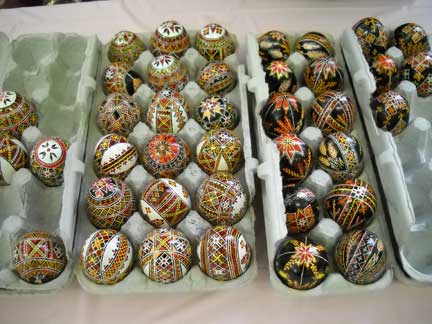
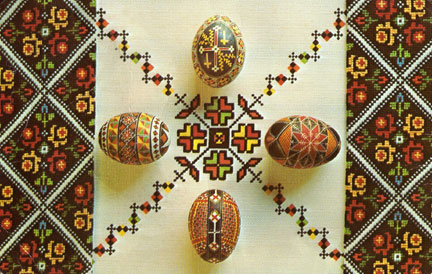
Here are some lovely intricate patterns to practice with. |
 |
|
Olga and Olga Ukrainian-Americans still pride themselves on their skill in creating pysanky and the ancient art is still practiced and displayed where Ukrainians reside in San Diego, Los Angeles, Chicago, Pennsylvania, New York and throughout Canada.
|
The Ukrainian Egg Lady has the prettiest, most perfect pysanky for only $10 plus shipping. You can contact her directly at:
The Ukrainian Egg Lady - Maria Chupa
Tel: 626-282-9500
e-mail: info@theukrainianegglady.com
Krashanky Patricia Taylor Hello Olga: Anyway, Easter is always my most favorite holiday. because after all of Lent and no meat/cheese Fridays, then the Holy Friday, Saturday, and fasting. But Sunday after Mass, you're always starved for that keilbasi right? I know I am. I love the hardboiled eggs, with vinegar, salt, pepper, or red beets. Oh yes, and horseradish on eggs. Paska too. Krashanky The other way I like to do eggs is like my grandmother Landis did. We would use onion skins, brown and purple, and come up with beautiful eggs that way too. You wrap each egg in a little cheesecloth bundle and drop into boiled peels. It makes a good partner to the pysanky art eggs...simple and elegant. About the straight lines on the eggs, I used to use a rubber band around them. Before I blew them out, I marked with pencil and it's a fairly good guide line. Nobody ever said Pysanky were to be perfect anyway...like life, nothing is perfect. I like dark blues and blacks in background, then to green, red, yellow and finally white. It is kind of like a game of chess -- you must think a few steps ahead when coloring. My favorite part was at the end, where you finally melt off all the wax (by then the eggs pretty ugly, covered with colors and wax, like a black blob, right?) and then, MAGIC!! You hold it over a candle and slowly, so slowly melt the dirty wax with all its dyes, and underneath you never quite know what you'll get, but they are always wonderful, yes??? Valerie L. Landis Ol'ha: Oleh Dear Olga, I mostly do it for fun and to keep the old traditions alive by passing it on to my children. I learned to decorate eggs from my granny and every year the kids and I make some. I have shared the joy of pysanky with other children in our schools, Girl Scouts and other organizations. It was unheard of down south here in Mississippi when I moved down 11 1/2 yrs ago but amazingly it is picking up popularity. I've met several women down here who got interested just for the sheer fun, neither of them are of Slavic origin. They are also teaching the art of pysanky to others, which I think is so wonderful. I just looked at my eggs today and found the only one that I did not blow out last year had burst. It explains the rotten odor in my family room last week when my daughter was sick. I blamed her, poor kid! The rotten egg was slightly cracked and leaked out its smelly innards onto another non blown out egg. The other egg is quite old which, by luck, seemed to dry out inside like the way they are really supposed to. Living down south here has had its challenges with temperature fluctuations in the winter when we are stuck between heating and air conditioning and just trying to keep the humidity levels down too. Happily decorating, Shawn P. Your pysanky material is beautiful (as is your whole website). Yeah, my grandmother did this, and used the Lemko drop-and-drag method. She would melt wax in a jar lid on the stove-a wood/coal stove in my earliest years-and stick a pin in a twig she'd cut off a tree. I can still smell the hot wax. Ah, memories. Norman Zukowsky Your website is very nice. I just loved it. My grandma was Ukrainian and I always loved the beautiful Easter eggs the ladies at church use to make and sell. Brought back fond memories. Regards, Dolores Brown Dear Olga, Wow! You have done so much work on your wonderful site. My babcha taught me to do pysanky when I was just a little girl. We made our own kiska with dowels and copper sheet metal! Now I use an electric kiska!! I am teaching my children to make them. Helena Agnew |
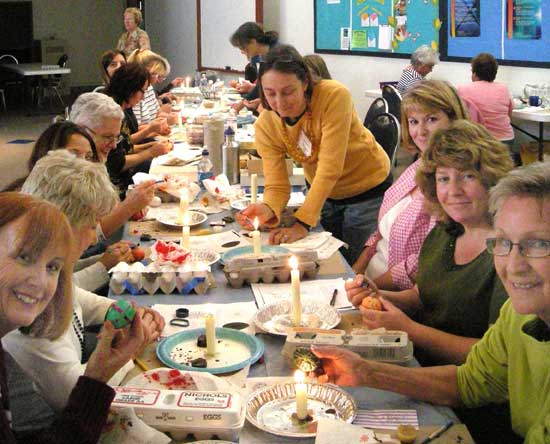
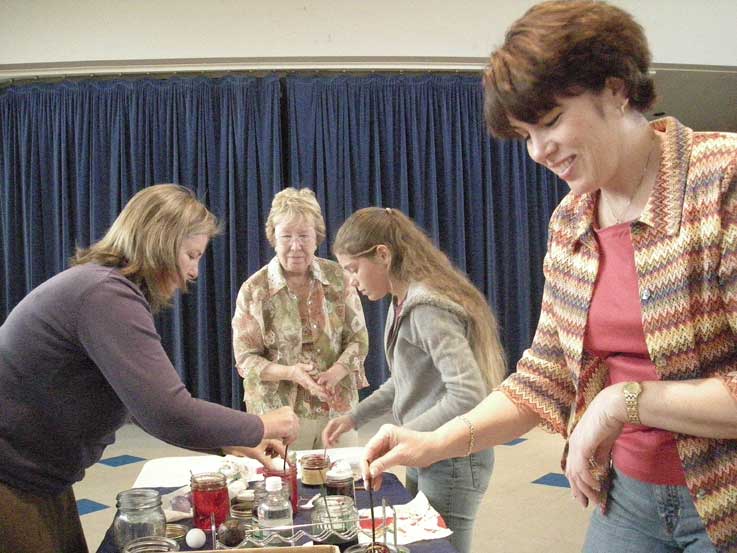
| Pysanky class at St. Stephen's Episcopal Church, Newhall CA, 2008 | ||
|---|---|---|
 |
 |
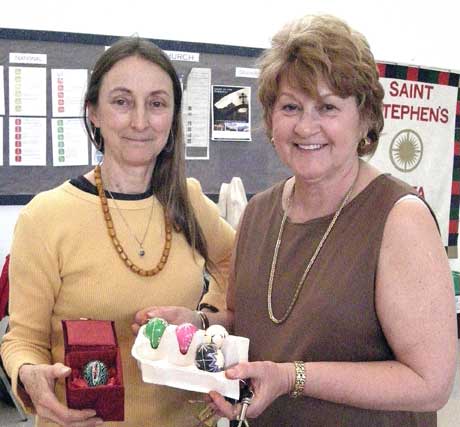 |
| 28 people showed up for our pysanky class. | Dyeing eggs after applying wax. | Barbara Wampole & Olga Kaczmar, teachers of this ancient technique. |
Jim Walker's pysanky article in The Signal newspaper 2008 http://newmedia.the-signal.com/news/article/628/ |
||
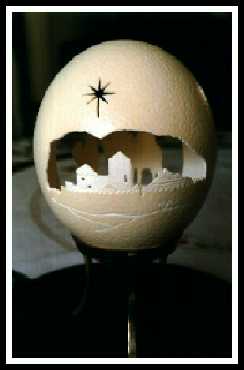
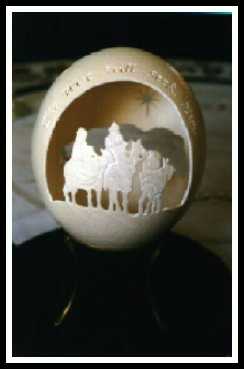
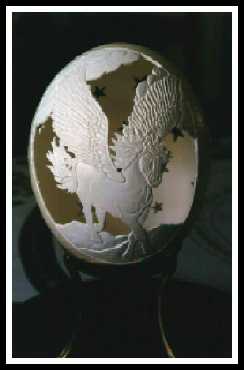
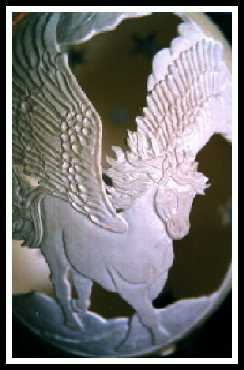
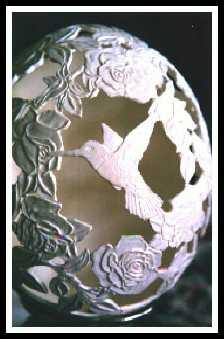
Incredible what they can do with an eggshell and a laser beam. Hope you enjoy these as much as I did!


2/2/05 Hi Olga,
You might like to know that the eggs you have featured on this website with under this caption were NOT done with a laser, but even more amazingly . . . they were carved with dental drill (or something very similar). It truly is incredible what can be created from eggshells (with some imagination and a steady hand). Unfortunately we have lost contact with the eggshell artist who created most (perhaps all) of those eggs featured on your site. His website is no longer active and we have been unable to locate a new one. I can send you info/websites of many other artists with similar talents if you wish. Cordially, Teena Billingham, TeenaKaty@aol.com
Will the true artist please step up and identify himself so that we can sign give credit where credit is due.
I came across your pysanka page (I have been learning how to make them at a Ukrainian church in my area). I saw the beautiful carved eggs at the bottom of the page and I think I may know who did them (or at least where they're from), because my mother came across very similar work when researching our Slovene Easter egg traditions. The leftmost one in particular looks just like eggs carved by Franc Grom, and that style of carving out eggs has been done for many years in a few parts of Slovenia (and because he can use a delicate drill, he can do even more - it was all done by hand historically!). One of the regions that does this is the lacemaking region Idrija, and looking at some of Franc Grom's work, you can see it resembles lace patterns a lot. I can't be sure that this is the same artist, but it is a clue.
http://www.vrhnika.si/index.php?m=knjiga&id=111
http://momeld.wordpress.com/2008/03/23/happy-easter-eggs/
Thanks for a helpful site, and have a great day! ~ Nadja
9/24/2012
Dear Olga:
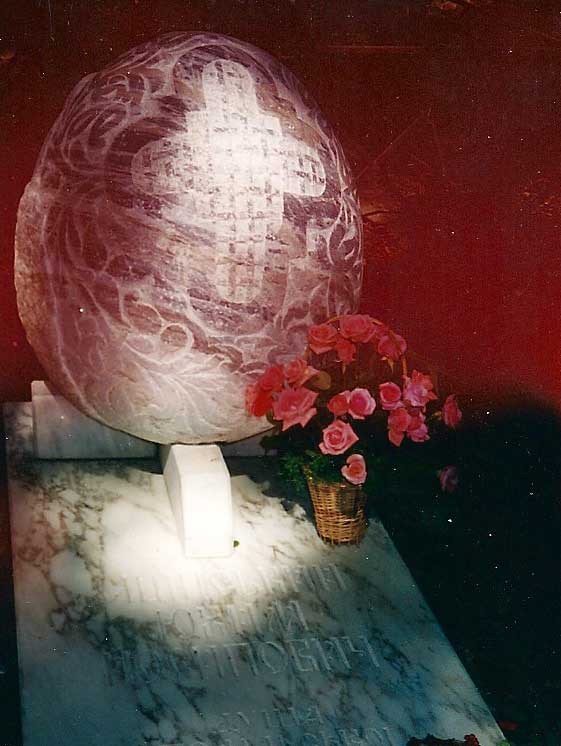
My
grandfather, Youchim ...a historian, archeologist,
scholar, created
museum in Kamianets Podilsky, collecting
2500 Pysanky from the region of Podolia; and
my father being in DP Camp....published an album:
Ukrainian Culture....and devoted one page to pysanky. I
am forwarding to you a picture (Click to enlarge) of my grandfather's grave....monument was installed in 1994 in Kamianets
Podilsky....and
I was there too. He collected pysanky for the museum.....I like this
design....made by local architect/designer. It was a festive occasion.The
basket of roses was from me.
There are three ways to decorate
eggs for Ukrainian Easter holidays. The Tradition of the Paschal Egg There is a beautiful tradition within the life of the Church for believers to have as their last meal before beginning the Great Lenten Fast, to eat a hard boiled egg, white in color. This egg represents our sinful nature, and we eat this egg with the hope that the Lenten journey will bring us to repentance, and make us worthy to receive the Risen Lord Jesus Christ. The great and holy myrrh-bearer Mary Magdalene, equal of the apostles, during a dinner with the emperor Tiberius Caesar, was speaking about Christ's resurrection. Caesar scoffed at her, saying that a man could rise from the dead no more than the egg in her hand could turn red. Immediately, the egg turned red. This is believed to be an explanation for dyeing eggs red at Pascha. At the end of Matins, during the Paschal service, the priest hands out a red egg, symbolizing the blood of Christ, to each worshiper. At the beginning of the Paschal feast, following the Midnight Liturgy, believers break the Lenten Fast by again eating an egg. As we hit our red eggs together, while saying, "Christ is Risen", we are symbolically proclaiming the truth that Christ, by his death and holy resurrection, broke the bonds and power of death. The breaking of the eggs represents the opening of the tomb, and the crashing of the doors of hell, with Christ destroying the power of darkness and death, forever. With love in Christ, Abbot Tryphon
1) KRASHANKY = coloring eggs in one single
dye, as : yellow, orange, red, blue, violet and green.
2) SHKRABANKY
= scratching ornament
with sharp (pointy) instrument ona colored egg, The ornament will be
color of the eggshell.
3) PYSANKY
- the name arrived from the Ukrainian word which means: to write - because, you have to use special "pen", which
is called "kistka".
This type of decoration is the most
elaborate and the most beautiful.
 Best regards Jarko Sichynsky

Another excellent site to visit are:
Vyshyvanka: http://vyshyvanka.com/Pysanky-Eggs